Depending on how fast you can type (or copy and paste) you’ll get a publicly available Kubernetes multi-node cluster up and running in less than 15minutes.
Costs
If you follow this tutorial, you’ll create two CX11 hosts with the following specs:
1	vCPU
2 GB	RAM
20 GB	SSD
20 TB	TRAFFIC
and setup a Kubernetes multi-node cluster with the latest stable version v1.15.1.
The current price for a Hetzner cx11 server is 0,00431€/h. This means you’ll get charged for about 0,2€ daily for two nodes. The monthly fee for two such servers is 5,36€.
You can delete your servers anytime. There’s no minimal renting period or setup charge.
Prerequisite: Hetzner Cloud project
Log in to https://console.hetzner.cloud. Create a new project and an api token to be used later on:
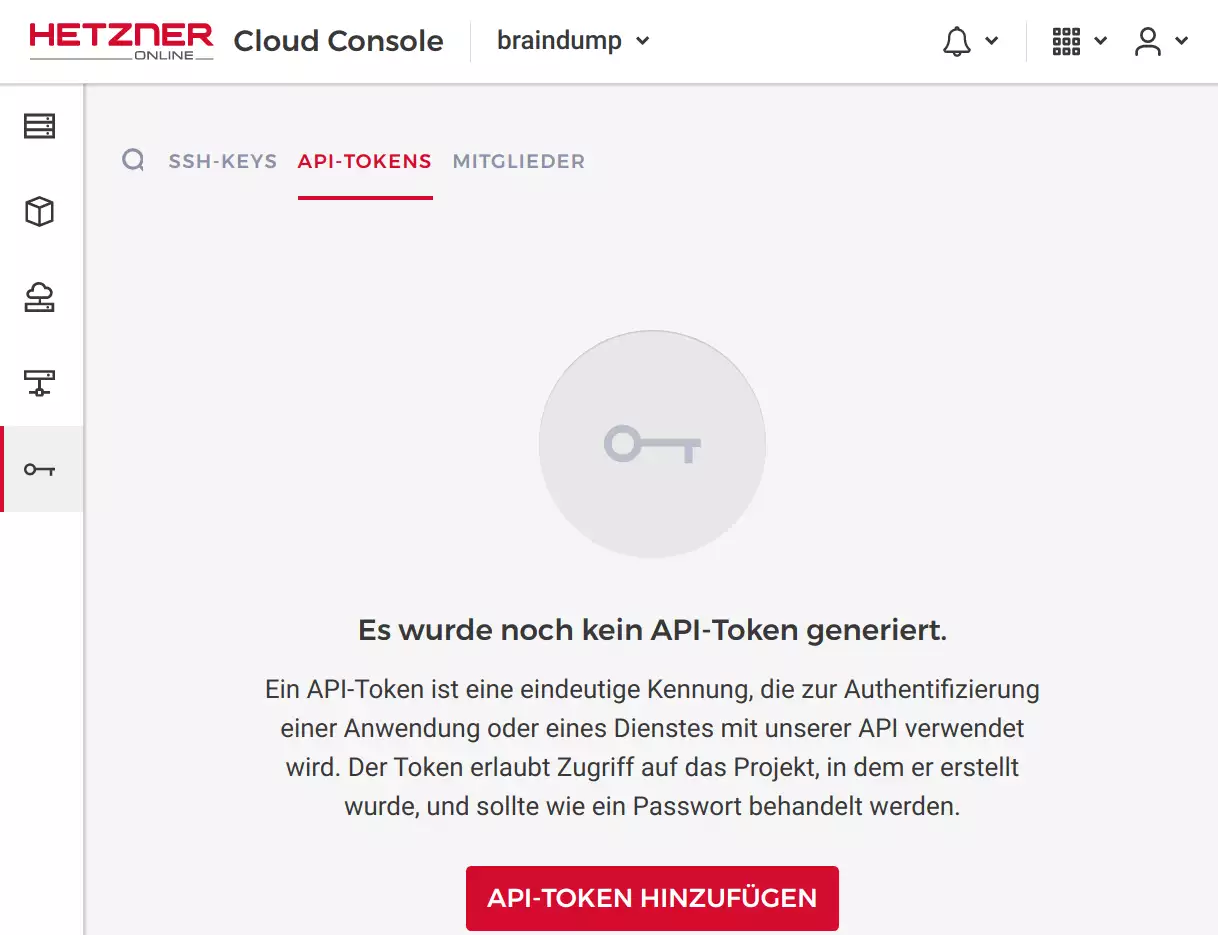
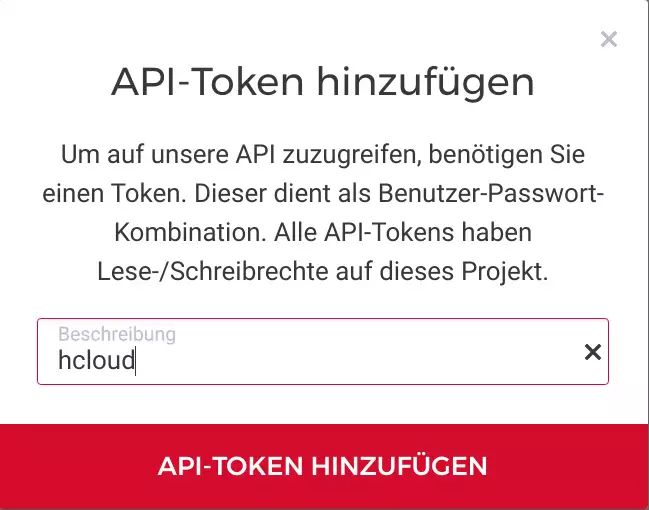
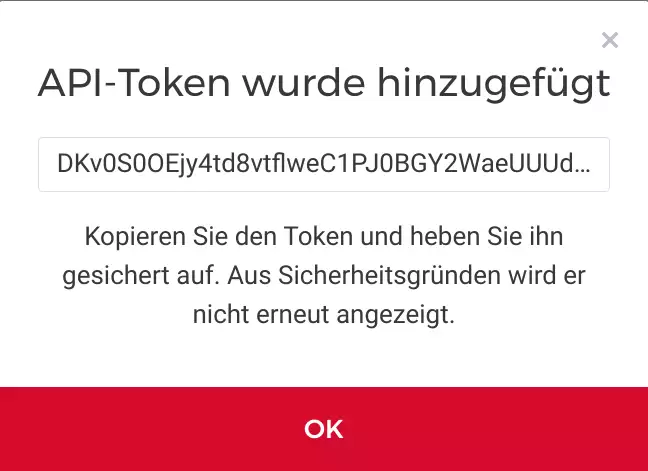
NOTE: you need to copy/save the api token, it cannot be retrieved again.
Prerequisite: Hetzner CLI hcloud
NOTE: everything we do here with the hcloud CLI can be done within the Hetzner Cloud GUI as well. Still, for automation and replication the CLI is the preferred way.
We’ll be using a beta feature of the Hetzner Cloud to create a private network between our servers. Without a private network:
- data between your nodes is not private (e.g. publicly routed)
- network traffic between your nodes is routed quite a lot
- you get less-than-optimal network performance
See this section for a comparison of network roundtrip times and latency w/o a private network.
To use the private network feature you need a not-yet-released Hetzner CLI hcloud version >1.13.0.
To build the hcloud executable you need Go.
For Ubuntu the recommended way is to install the Snap package:
$ sudo snap install --classic --channel=1.12/stable gothen build and install hcloud with:
$ go get -u github.com/hetznercloud/cli/cmd/hcloudThe hcloud executable is now available in ~/go/bin/hcloud.
For convenience update your PATH and enable autocompletion:
$ export PATH="$PATH:$HOME/go/bin:"
$ source <(hcloud completion bash)
Now switch the context to your Hetzner project:
$ hcloud context create braindump

Token: <<<<enter the api token created with the Hetner Cloud GUI
Context braindump created and activated
Next, register a ssh-key which allows you to log in to your cloud servers. If you don’t have an ssh-key available or want to create a new one:
$ ssh-keygen -t ed25519 -f hetzner-cloudand then register the ssh-key:
$ hcloud ssh-key create --name "hetzner-cloud" --public-key-from-file hetzner-cloud.pubNext, it’s time to create your servers. The available server types are:
$ hcloud server-type list

ID   NAME        CORES   MEMORY     DISK     STORAGE TYPE
1    cx11        1       2.0 GB     20 GB    local
2    cx11-ceph   1       2.0 GB     20 GB    network
3    cx21        2       4.0 GB     40 GB    local
4    cx21-ceph   2       4.0 GB     40 GB    network
5    cx31        2       8.0 GB     80 GB    local
6    cx31-ceph   2       8.0 GB     80 GB    network
7    cx41        4       16.0 GB    160 GB   local
8    cx41-ceph   4       16.0 GB    160 GB   network
9    cx51        8       32.0 GB    240 GB   local
10   cx51-ceph   8       32.0 GB    240 GB   network
11   ccx11       2       8.0 GB     80 GB    local
12   ccx21       4       16.0 GB    160 GB   local
13   ccx31       8       32.0 GB    240 GB   local
14   ccx41       16      64.0 GB    360 GB   local
15   ccx51       32      128.0 GB   540 GB   local
Create your first server (which will be the K8s master node):
$ hcloud server create --name node-1 --type cx11 --image ubuntu-18.04 --ssh-key=hetzner-cloud

Waiting for server 3021616 to have started... done
Server 3021616 created
IPv4: 195.201.229.18
Log in with:
$ ssh -i hetzner-cloud.pub root@195.201.229.18Create your second server (which will be the first K8s worker node):
$ hcloud server create --name node-2 --type cx11 --image ubuntu-18.04 --ssh-key=hetzner-cloud

Waiting for server 3021710 to have started... done
Server 3021710 created
IPv4: 116.203.130.129
Log in with:
$ ssh -i hetzner-cloud.pub root@116.203.130.129Create a private Hetzner network
See Hetzner Cloud: Networks for a general overview of the private network features.
Create a private network for Kubernetes:
$ hcloud network create --name kubernetes --ip-range 192.168.0.0/16
$ hcloud network add-subnet kubernetes --network-zone eu-central --type server --ip-range 192.168.0.0/24
$ hcloud server attach-to-network node-1 --network kubernetes [--ip 192.168.0.2]
$ hcloud server attach-to-network node-2 --network kubernetes [--ip 192.168.0.3]
The --ip argument is optional. This will add an additional ensX interface to your Hetzner Cloud servers and allow for direct and private network communication.
OS preparation
Currently you’re probably logged-in to your cloud server as root. Create a regular user and allow your ssh-key to authenticate:
$ export USERNAME=your-user-name
$ useradd -m -G sys,adm,sudo,docker -s /bin/bash $USERNAME
$ passwd $USERNAME
$ mkdir /home/$USERNAME/.ssh
$ cat .ssh/authorized_keys > /home/$USERNAME/.ssh/authorized_keys
$ chown $USERNAME.$USERNAME -R /home/$USERNAME/.ssh
This allows you to log in to your server as a regular user with the ssh-key you created or used above.
For the following steps work as a regular user. Log out and log back in as a regular user:
$ ssh -i hetzner-cloud.pub your-user-name@...Then, on both nodes install docker:
$ sudo apt update && sudo apt upgrade -y && sudo apt install docker.io -y
$ sudo systemctl enable docker.service
and, still on both nodes, add the Kubernetes apt repository and install the necessary packages:
# install kubeadm
curl -s https://packages.cloud.google.com/apt/doc/apt-key.gpg | sudo apt-key add
sudo apt-add-repository "deb http://apt.kubernetes.io/ kubernetes-xenial main"
sudo apt install kubeadm -y
That’s it, you’re now ready to setup Kubernetes.
Kubernetes Setup Master Node
NOTE: see Kubernetes Reset if you need to start from scratch.
sudo kubeadm init --apiserver-advertise-address 192.168.0.2 \
    --service-cidr 10.96.0.0/16 \
    --pod-network-cidr 10.244.0.0/16 \
    --ignore-preflight-errors=NumCPU
Command output (click to expand)
sudo kubeadm init --apiserver-advertise-address 192.168.0.2 \
    --service-cidr 10.96.0.0/16 \
    --pod-network-cidr 10.244.0.0/16 \
    --ignore-preflight-errors=NumCPU

[init] Using Kubernetes version: v1.15.1
[preflight] Running pre-flight checks
	[WARNING NumCPU]: the number of available CPUs 1 is less than the required 2
	[WARNING IsDockerSystemdCheck]: detected "cgroupfs" as the Docker cgroup driver. The recommended driver is "systemd". Please follow the guide at https://kubernetes.io/docs/setup/cri/
[preflight] Pulling images required for setting up a Kubernetes cluster
[preflight] This might take a minute or two, depending on the speed of your internet connection
[preflight] You can also perform this action in beforehand using 'kubeadm config images pull'
[kubelet-start] Writing kubelet environment file with flags to file "/var/lib/kubelet/kubeadm-flags.env"
[kubelet-start] Writing kubelet configuration to file "/var/lib/kubelet/config.yaml"
[kubelet-start] Activating the kubelet service
[certs] Using certificateDir folder "/etc/kubernetes/pki"
[certs] Generating "front-proxy-ca" certificate and key
[certs] Generating "front-proxy-client" certificate and key
[certs] Generating "etcd/ca" certificate and key
[certs] Generating "etcd/server" certificate and key
[certs] etcd/server serving cert is signed for DNS names [node-1 localhost] and IPs [192.168.0.2 127.0.0.1 ::1]
[certs] Generating "etcd/peer" certificate and key
[certs] etcd/peer serving cert is signed for DNS names [node-1 localhost] and IPs [192.168.0.2 127.0.0.1 ::1]
[certs] Generating "etcd/healthcheck-client" certificate and key
[certs] Generating "apiserver-etcd-client" certificate and key
[certs] Generating "ca" certificate and key
[certs] Generating "apiserver" certificate and key
[certs] apiserver serving cert is signed for DNS names [node-1 kubernetes kubernetes.default kubernetes.default.svc kubernetes.default.svc.cluster.local] and IPs [10.96.0.1 192.168.0.2]
[certs] Generating "apiserver-kubelet-client" certificate and key
[certs] Generating "sa" key and public key
[kubeconfig] Using kubeconfig folder "/etc/kubernetes"
[kubeconfig] Writing "admin.conf" kubeconfig file
[kubeconfig] Writing "kubelet.conf" kubeconfig file
[kubeconfig] Writing "controller-manager.conf" kubeconfig file
[kubeconfig] Writing "scheduler.conf" kubeconfig file
[control-plane] Using manifest folder "/etc/kubernetes/manifests"
[control-plane] Creating static Pod manifest for "kube-apiserver"
[control-plane] Creating static Pod manifest for "kube-controller-manager"
[control-plane] Creating static Pod manifest for "kube-scheduler"
[etcd] Creating static Pod manifest for local etcd in "/etc/kubernetes/manifests"
[wait-control-plane] Waiting for the kubelet to boot up the control plane as static Pods from directory "/etc/kubernetes/manifests". This can take up to 4m0s
[apiclient] All control plane components are healthy after 24.012671 seconds
[upload-config] Storing the configuration used in ConfigMap "kubeadm-config" in the "kube-system" Namespace
[kubelet] Creating a ConfigMap "kubelet-config-1.15" in namespace kube-system with the configuration for the kubelets in the cluster
[upload-certs] Skipping phase. Please see --upload-certs
[mark-control-plane] Marking the node node-1 as control-plane by adding the label "node-role.kubernetes.io/master=''"
[mark-control-plane] Marking the node node-1 as control-plane by adding the taints [node-role.kubernetes.io/master:NoSchedule]
[bootstrap-token] Using token: qsp66g.so31qdny4dhc8cwk
[bootstrap-token] Configuring bootstrap tokens, cluster-info ConfigMap, RBAC Roles
[bootstrap-token] configured RBAC rules to allow Node Bootstrap tokens to post CSRs in order for nodes to get long term certificate credentials
[bootstrap-token] configured RBAC rules to allow the csrapprover controller automatically approve CSRs from a Node Bootstrap Token
[bootstrap-token] configured RBAC rules to allow certificate rotation for all node client certificates in the cluster
[bootstrap-token] Creating the "cluster-info" ConfigMap in the "kube-public" namespace
[addons] Applied essential addon: CoreDNS
[addons] Applied essential addon: kube-proxy

Your Kubernetes control-plane has initialized successfully!

To start using your cluster, you need to run the following as a regular user:

  mkdir -p $HOME/.kube
  sudo cp -i /etc/kubernetes/admin.conf $HOME/.kube/config
  sudo chown $(id -u):$(id -g) $HOME/.kube/config

You should now deploy a pod network to the cluster.
Run "kubectl apply -f [podnetwork].yaml" with one of the options listed at:
  https://kubernetes.io/docs/concepts/cluster-administration/addons/

Then you can join any number of worker nodes by running the following on each as root:

kubeadm join 192.168.0.2:6443 --token qsp66g.so31qdny4dhc8cwk \
    --discovery-token-ca-cert-hash sha256:04d92fb2c05660ef5eb1f0cc15e069521caa22320649c510e4902c61258ba2c1
Next, as a regular user (not root) create the configuration to use kubectl:
$ mkdir -p $HOME/.kube
$ sudo cp -i /etc/kubernetes/admin.conf $HOME/.kube/config
$ sudo chown $(id -u):$(id -g) $HOME/.kube/config
Now you can install a container network interface (CNI) like weave:
$ kubectl apply -f "https://cloud.weave.works/k8s/net?k8s-version=$(kubectl version | base64 | tr -d '\n')"You’re now ready to add additional nodes!
Kubernetes Setup Worker Node(s)
NOTE: see Kubernetes Reset if you need to start from scratch.
Get the join command (execute this command on your master node):
$ sudo kubeadm token create --print-join-commandTake to command and execute it on your worker-node:
$ sudo kubeadm join 192.168.0.2:6443 --token qsp66g.so31qdny4dhc8cwk \
   --discovery-token-ca-cert-hash sha256:04d92fb2c05660ef5eb1f0cc15e069521caa22320649c510e4902c61258ba2c1
Command output (click to expand)
$ sudo kubeadm join 192.168.0.2:6443 --token qsp66g.so31qdny4dhc8cwk \
   --discovery-token-ca-cert-hash sha256:04d92fb2c05660ef5eb1f0cc15e069521caa22320649c510e4902c61258ba2c1

[preflight] Running pre-flight checks
	[WARNING IsDockerSystemdCheck]: detected "cgroupfs" as the Docker cgroup driver. The recommended driver is "systemd". Please follow the guide at https://kubernetes.io/docs/setup/cri/
[preflight] Reading configuration from the cluster...
[preflight] FYI: You can look at this config file with 'kubectl -n kube-system get cm kubeadm-config -oyaml'
[kubelet-start] Downloading configuration for the kubelet from the "kubelet-config-1.15" ConfigMap in the kube-system namespace
[kubelet-start] Writing kubelet configuration to file "/var/lib/kubelet/config.yaml"
[kubelet-start] Writing kubelet environment file with flags to file "/var/lib/kubelet/kubeadm-flags.env"
[kubelet-start] Activating the kubelet service
[kubelet-start] Waiting for the kubelet to perform the TLS Bootstrap...

This node has joined the cluster:
* Certificate signing request was sent to apiserver and a response was received.
* The Kubelet was informed of the new secure connection details.

Run 'kubectl get nodes' on the control-plane to see this node join the cluster.
Kubernetes Reset
If ever you need to start from the beginning you can use kubeadm reset followed by a cleanup of iptables rules and a restart of docker (to re-add the removed iptables rules):
$ sudo kubeadm reset
$ sudo iptables -F && sudo iptables -t nat -F && sudo iptables -t mangle -F && sudo iptables -X
$ sudo systemctl restart docker
Hetzner Private vs. Public Network
Let’s look at an example (e.g. two Hetzner Cloud Nodes created following this very tutorial):
- node-1: 195.201.229.18 (Public IP), 192.168.0.2 (Private IP)
- node-2: 116.203.130.129 (Public IP), 192.168.0.3 (Private IP)
Execute mtr, a network diagnostic tool to analyze the amount of hops and roundtrip time:
$ mtr 116.203.130.129 -r -c 30 -n

Start: 2019-07-26T16:02:45+0200
HOST: node-1                      Loss%   Snt   Last   Avg  Best  Wrst StDev
  1.|-- 172.31.1.1                 0.0%    30    0.2   0.3   0.2   0.6   0.1
  2.|-- 195.201.64.84              0.0%    30    2.3   0.4   0.2   2.3   0.4
  3.|-- 195.201.64.65              0.0%    30   27.6  31.2  14.7  65.5   9.2
  4.|-- 85.10.247.145              0.0%    30    4.6   2.0   0.9  12.9   2.5
  5.|-- 85.10.237.194              0.0%    30   18.3  17.1  10.2  26.7   3.9
  6.|-- 88.99.159.74               0.0%    30    0.4   0.5   0.3   3.4   0.6
  7.|-- ???                       100.0    30    0.0   0.0   0.0   0.0   0.0
  8.|-- 116.203.130.129            0.0%    30    0.7   0.9   0.5   3.4   0.5
and:
$ mtr 195.201.229.18 -r -c 30 -n

Start: 2019-07-26T16:03:08+0200
HOST: node-2                      Loss%   Snt   Last   Avg  Best  Wrst StDev
  1.|-- 172.31.1.1                 0.0%    30    0.2   0.3   0.2   0.6   0.1
  2.|-- 88.99.159.74               0.0%    30    0.2   0.4   0.2   3.9   0.7
  3.|-- 88.99.159.33               0.0%    30   21.7  23.1  10.1  82.4  18.7
  4.|-- 85.10.237.193              0.0%    30    1.0   1.1   0.8   3.7   0.6
  5.|-- 85.10.247.146              0.0%    30   19.0  16.0   8.4  22.9   4.2
  6.|-- 195.201.64.84              0.0%    30    0.5   0.4   0.3   0.8   0.1
  7.|-- ???                       100.0    30    0.0   0.0   0.0   0.0   0.0
  8.|-- 195.201.229.18             0.0%    30    0.8   1.2   0.5   8.3   1.6
So, for these two Hetzner Cloud hosts a round-trip takes about 40ms in average and fluctuates between 20ms (best) to over 100ms (worst).
Network traffic over the private network looks a lot better:
$ mtr 192.168.0.3 -r -c 30 -n

Start: 2019-07-26T16:03:54+0200
HOST: node-1                      Loss%   Snt   Last   Avg  Best  Wrst StDev
  1.|-- 192.168.0.1                0.0%    30    8.1   8.2   5.2  10.5   1.3
  2.|-- 192.168.0.3                0.0%    30    0.5   0.9   0.4   6.3   1.0
and:
$ mtr 192.168.0.2 -r -c 30 -n

Start: 2019-07-26T16:05:24+0200
HOST: node-2                      Loss%   Snt   Last   Avg  Best  Wrst StDev
  1.|-- 192.168.0.1                0.0%    30    4.7   5.3   4.1  14.2   1.9
2.|-- 192.168.0.2 0.0% 30 0.7 0.7 0.5 1.2 0.1NOTE: If you use wireguard to create an encrypted overlay network between your hosts the performance is even better, but that’s a topic for another post.
Still, here’s a mtr report for 3 Hetzner Cloud nodes connected with wireguard:
$ mtr 10.0.0.1 -r -c 30 -n

Start: 2019-07-26T16:26:44+0200
HOST: cx11-ceph-nbg1-3            Loss%   Snt   Last   Avg  Best  Wrst StDev
1.|-- 10.0.0.1                   0.0%    30    0.8   0.8   0.6   1.2   0.1

$ mtr 10.0.0.2 -r -c 30 -n
Start: 2019-07-26T16:23:17+0200
HOST: cx11-ceph-nbg1-1            Loss%   Snt   Last   Avg  Best  Wrst StDev
  1.|-- 10.0.0.2                   0.0%    30    0.9   1.1   0.5   7.6   1.3


$ mtr 10.0.0.3 -r -c 30 -n
Start: 2019-07-26T16:26:48+0200
HOST: cx11-ceph-nbg1-1            Loss%   Snt   Last   Avg  Best  Wrst StDev
  1.|-- 10.0.0.3                   0.0%    30    0.7   0.9   0.6   1.6   0.2